Cap configurator for merchandise and teamwear suppliers: features, benefits, implementation
What a 3D cap configurator does for embroiderers, merchandise and teamwear suppliers: colours, embroidery, proof approval, company orders and the shop.
Short answer: a 3D cap configurator suits embroiderers, merchandise and teamwear suppliers who decorate caps to order. It shows the customer their colours, their text and the embroidery position on the model before anything is produced. The biggest gain is usually not the single online sale but the approval loop with company and club customers: fewer mock-ups by email, and one clear sign-off.
This guide is for owners, sales and e-commerce leads at embroidery and print finishers, promotional products distributors, merchandise agencies and fashion brands. The embroidery rules in detail (text length, position, thread colour and visor shape) are covered in embroidery configurator rules.

Who orders personalised caps, and what do they need?
A cap configurator usually serves two very different buyers:
| Buyer | Typical order | What they need in the configurator |
|---|---|---|
| Company, club, agency | A batch with a logo or wordmark, often for an event or as teamwear | Brand colours, logo or text placement, a mock-up to share internally, a quantity |
| Consumer in an online shop | One cap with a name or short text | Quick choices, a preview of the text, direct checkout |
For the company buyer, the configurator is an approval tool: the buyer shows the mock-up to colleagues, collects comments and signs off. For the consumer it is part of the purchase. The two paths need different exits: an enquiry with quantity in one case, a basket in the other.
Which features belong in a cap configurator?
Our example configurator for a six-panel cap shows the following. The product is fictional and all values are example values; no manufacturer commissioned or reviewed the demo.
- Three colour zones: crown and visor in six colours each; the under-visor in green, grey or tonal.
- Embroidery: your own text, generated as raised satin stitch directly on the crown, in five thread colours, front or side.
- Visor shape: pre-curved or flat; the visor and the front edge of the crown change together, so the seam never opens.
- Inside view: the cap flips over to show the sweatband and seam tape.
- Construction details: double-needle seams, embroidered eyelets, a visor with eight stitch rows and a snapback closure, explained by notes on the model.
Example configurator · fictional product: Cap with embroidery. Pick crown and visor colours, type your text and see the embroidery appear on the crown.
What the demo does not include: logo upload, quantities, price, enquiry or basket. Those parts are set up per project to match how you take orders.
Text or logo: what changes for the configurator?
Text can be turned into an embroidery preview in the browser immediately, as the demo does. A logo is different: before it can be embroidered, it usually has to be turned into a stitch file, because computer-controlled embroidery machines work from digitised embroidery files [3]. A configurator can lay an uploaded logo over the cap as a preview; whether it can be stitched at that size and in those colours is your production team's call. That leaves three questions for your project:
- Can customers upload logos, or do they choose only text and colours?
- What happens after the upload: automatic preview, a check by your team, approval by the customer?
- Which file formats and sizes do you accept?
What does a cap configurator bring the supplier?
We do not promise figures. The benefit is concrete at these points:
- Fewer mock-up rounds: customers try colours and text themselves instead of asking for each variant as an image.
- A clear sign-off: colours, thread, position and visor shape sit in one summary the customer confirms.
- The whole range on show: every colour combination is visible in the model without being photographed.
- Images per variant: product images for the shop and for quotes can be rendered from the same model.
Shop or enquiry?
For single caps with text, the shop fits: the configuration goes into the basket as a variant plus extra fields. For company orders with a logo and quantity, an enquiry is usually better, because price and feasibility are only known after a check. Both can live in one configurator, for example behind a switch "I am ordering for a company". Template software versus a custom build is compared in what a 3D configurator costs.
What do we need from you to start?
- Colour card: name and colour value of each fabric colour, ideally with a photo or sample so the on-screen colour can be matched.
- Available blanks: which combinations of crown, visor and under-visor actually exist.
- Thread colours: the palette your embroidery department stocks, not the supplier's whole card.
- Embroidery areas: position and maximum size per model, plus your minimum lettering size.
- Order terms: minimum quantities and lead times, if they should appear in the configurator.
How does a project run?
- Scope: cap models, colour cards, thread colours, embroidery areas and which combinations are allowed.
- Data: pattern pieces or CAD, photos, fabric and thread samples; we check before starting whether they are enough.
- Model and rules: geometry with seams and fabric texture, embroidery areas, rules for text and colours.
- Review: you test via a private link.
- Go live: as its own page or in your website or shop; enquiries by email or webhook.
How a personalised configuration becomes an order or an enquiry is covered in personalised products: from configurator to order. How we build configurators is described in custom 3D configurator development.
Common questions
Does this work for beanies, T-shirts or bags?
Yes. Textiles with fixed decoration areas can be modelled on the same principle. T-shirts add sizes and often several print positions.
Can the configurator show print instead of embroidery?
Yes, as a different look on the same area. The demo implements embroidery only.
Sources
- Demo features: the "Live in this demo" list on the cap with embroidery library page and the demo source /assets/mw3d/demos/cap.js (read 14 November 2026)
- Scope of services: "Possible in your project" section of the same library page (read 14 November 2026)
- Wikipedia: Machine embroidery, introduction on digitised embroidery files, read 14 November 2026: en.wikipedia.org
Examples to try
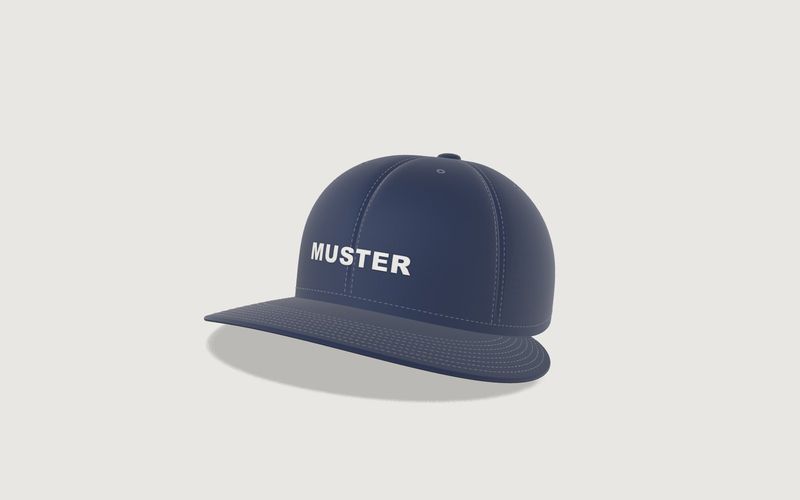
Own demo · fictional product
Cap with embroidery
A six-panel cap with your own embroidery: colours, thread, placement and brim shape.
Read next
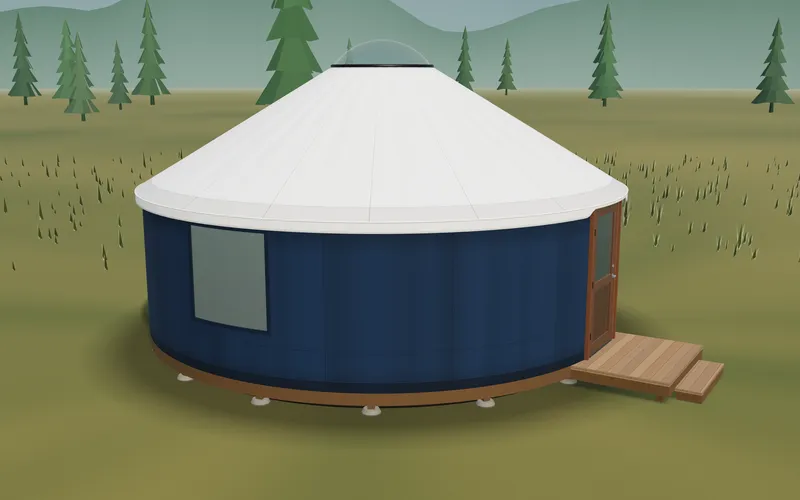
Yurt configurator software for yurt and glamping makers
What a 3D yurt configurator needs: diameter, doors and windows placed around the lattice wall, fabrics, stain, options, a site check and an enquiry.
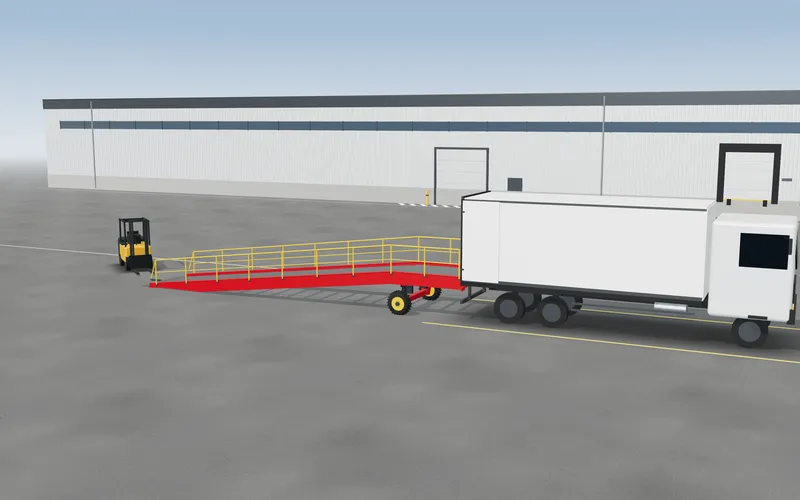
Yard ramp configurator for manufacturers: features, benefits, implementation
What a 3D configurator for mobile yard ramp makers must do: length, bed height, forklift slope, checks, options and an enquiry with a PDF.
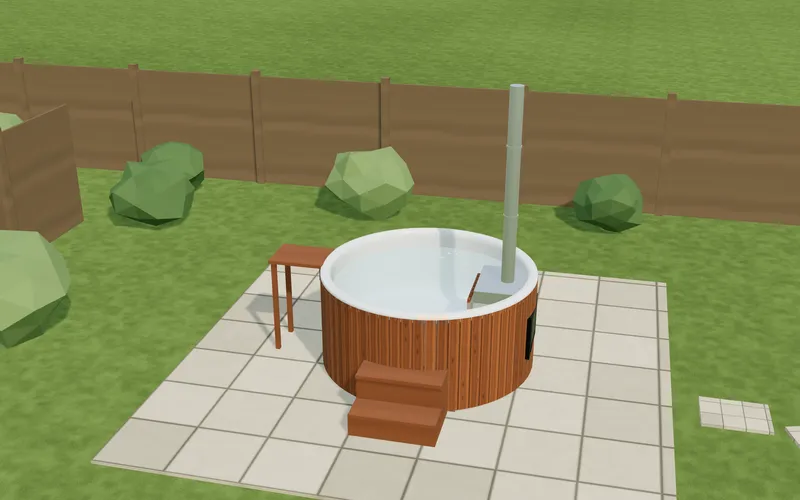
Wood-fired hot tub configurator software for hot tub makers
What a 3D configurator should do for wood-fired hot tub makers: stove type, size, cover, lighting, accessories, a running price and an enquiry.