Embroidery configurator rules: text length, placement, thread colour and visor shape
The rules a configurator for embroidered caps needs: embroidery areas, text length and minimum lettering size, fabric and thread colours, visor shape and sign-off data.
Short answer: an embroidery configurator needs rules for four things: where embroidery is allowed (areas per model), how much text fits an area (characters and minimum lettering size), which colours work together (fabric, thread, contrast) and what changes with the shape (visor, panel seams). Our example configurator for a fictional cap implements embroidery areas and character limits with example values, lets the colours combine freely and shows the fourth group on the visor.

What are the parameters of an embroidered cap?
| Parameter | Example values | Dependency |
|---|---|---|
| Crown | 6 colours (navy, sand, forest, rust, bone, black) | Contrast with the thread (proposal; free in the demo) |
| Visor | The same 6 colours, independent of the crown | – |
| Under-visor | Green, grey or tonal | "Tonal" takes the visor colour |
| Embroidery text | Up to 12 characters, in capitals | Lettering size adapts to the area |
| Thread | 5 colours (bone, gold, red, black, sky) | Contrast with the crown (proposal; free in the demo) |
| Placement | Front or side | Size of the embroidery area |
| Visor shape | Pre-curved or flat | Shape of the crown's front edge |
An inside view with sweatband and seam tape completes the demo. It changes nothing in the configuration but shows how the cap is made.
How much text fits an embroidery area?
This is the most important rule. In the demo the text is set in capitals, limited to 12 characters and scaled down until it fits the width of the area. In the code, the front area is roughly 9.2 × 3.5 cm and the side area roughly 6.0 × 2.3 cm (example values). A short text therefore comes out large, a long one small, and any text is smaller on the side than on the front.
For real embroidery, "fits the width" is not enough. Very small lettering fills in and becomes unreadable. Your configurator needs a lower limit as well:
- Minimum lettering size per area: if a text falls below it, the configurator does not shorten it silently but shows a message.
- Character limit per area: you might allow more characters on the front than on the side.
- Lines: one or two lines, each with its own limit.
The values come from your production: minimum height, stitch type, the typefaces your machines stitch cleanly. The configurator only enforces them.
What does an embroidery-area rule look like as a table?
Rules are easier to review and change when they live in a table rather than in code. For a cap, the table might look like this; the values in the "minimum height" column are yours to set:
| Area | Size (example) | Characters | Lines | Minimum height |
|---|---|---|---|---|
| Front | approx. 9.2 × 3.5 cm | up to 12 | 1 | Your value |
| Side | approx. 6.0 × 2.3 cm | up to 12 | 1 | Your value |
| Back, above the closure (proposal) | Your size | Your value | 1 | Your value |
The first two rows match the demo; the third is an example of a further area that the demo does not have. In a configurator built this way, a new cap model gets its own rows rather than a code change. Your team can read and approve the table without looking at code.
Which colour rules does a cap configurator need?
In the demo, crown, visor and thread combine freely. That suits a demo; it does not always suit a range. Three rule types are typical:
- Contrast: thread in the crown colour is sometimes intended (tone on tone) and sometimes a mistake. You decide whether the configurator warns or blocks.
- Availability: if you buy in blank caps, not every crown colour exists with every visor colour. The available pairs then belong in the data.
- Dependent colours: the tonal under-visor shows the pattern: it has no colour of its own and follows the visor.
The wider role of rules in a manufacturer's configurator is covered in 3D configurators for manufacturers.
What changes with the visor shape?
A flat visor is not just a different visor. In the demo, one shape variant moves the visor and the crown's front edge together so the seam does not gape. The embroidery follows the crown: it is projected onto the surface again after each change. For your product, visor shape can have further consequences, such as different crown heights or embroidery areas. We define those dependencies in the project.
What data does production need?
The demo ends with the 3D model; there is no summary or enquiry. In a project, the end should be a line your production team can read without asking back, for example:
Six-panel cap · crown navy · visor navy · under-visor green · pre-curved · embroidery front "SAMPLE" · thread bone
Quantity, size and an image of the preview the customer approved can be added. Whether this goes onto the order line in a shop or to sales as an enquiry depends on the sales path, covered in personalised products: from configurator to order. Which buyers a cap configurator serves is covered in cap configurator for merchandise suppliers.
Example configurator · fictional product: Cap with embroidery. Type a long and a short text and switch between front and side: the lettering adapts to the area.
Common questions
Why capitals only?
That is a choice made for the demo, not a technical limit. Your configurator can offer upper and lower case and several typefaces, as long as production can stitch them.
Can the configurator estimate stitch count or price?
An approximation from area and characters is possible if you provide the rules. The demo calculates no price.
Sources
- Demo features and example values: the cap with embroidery library page and the demo source /assets/mw3d/demos/cap.js (read 14 November 2026)
Examples to try
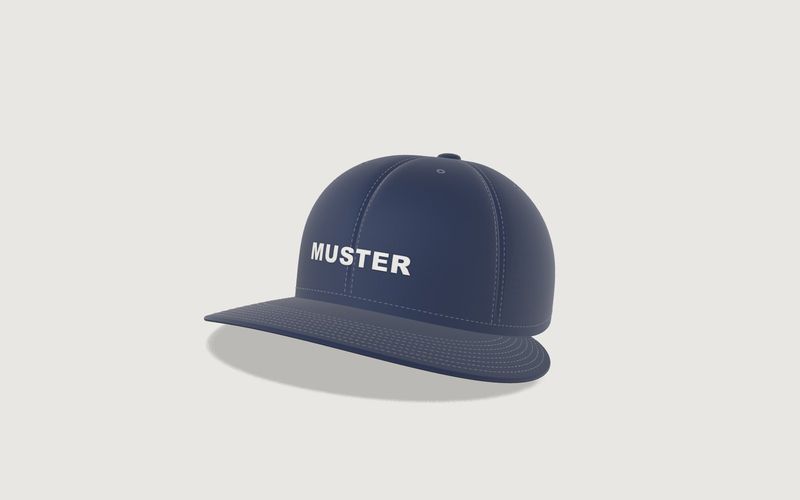
Own demo · fictional product
Cap with embroidery
A six-panel cap with your own embroidery: colours, thread, placement and brim shape.
Read next
Yurt configurator rules: placing doors and windows on the lattice wall
The rules a yurt configurator needs: wall length per diameter, the space each opening takes, a second door opposite, collision-free dragging, options.
Yard ramp slope, bed height and checks as configurator rules
How a yard ramp configurator calculates slope from length, level-off and bed height, and checks lift range, door opening and forklift clearance.
Wire partition planner rules: outline, doors and parts
The rules a wire partition planner needs: outline on a grid, wall lengths, heights, doors and service windows, ceiling and lock, layout checks and parts.