Linear lighting configurator: layouts, checks, parts list and article numbers
How a linear luminaire configurator turns a layout on the ceiling grid into checks, an article number and a complete parts list, with an example demo.
Short answer: in a linear lighting configurator, the layout drives everything. Once the runs are placed on a grid, the software can count corners, T-joints, crossings and ends, split long runs into pieces, size drivers and feed points from the wattage, place suspension points and check clearances. The article number and the parts list are then derived from the same data, so they always match what the buyer sees.
This guide explains that logic step by step, using our LUMA LINE demo as the worked example. LUMA LINE is an example configurator with a fictional product and example values: the sections, codes, limits and light values were chosen by us to show the method, and no manufacturer ordered or reviewed it. For the business case and the buyers behind a lighting configurator, see lighting configurator for luminaire manufacturers.

Which parameters does a linear luminaire configurator need?
The demo works with seven groups of parameters. A real system usually has the same groups with different values:
| Parameter | Options in the demo (example values) | What it changes |
|---|---|---|
| Layout | Line, L, U, rectangle, T, cross, or drawn freely on a 625 mm ceiling grid | Runs, connectors, ends, suspension points |
| Optic | Opal (120° beam), microprism (82°), darklight lens (42°), each with an example UGR label | Section height, light distribution, wattage, article code |
| Colour temperature | 2700, 3000, 3500, 4000 K | Light colour, article code |
| Lumen package | 1,500, 2,500 or 3,500 lm per metre | Luminous flux, wattage, drivers, feeds |
| Mounting | Pendant, surface, recessed | Mounting parts, checks |
| Suspension | 0.30 to 2.00 m (pendant only) | Height of the luminaire, cable length, clearance checks |
| Finish | Natural, black or bronze anodised, traffic white RAL 9016 | Material in 3D, article code |
The suspension control only appears when pendant mounting is chosen. Hiding options that do not apply is itself a rule: it prevents combinations the product does not have.
How does a layout become runs, joints and pieces?
The ceiling grid is the backbone. Every layout is stored as edges between grid nodes, with one grid cell kept clear of the walls. From those edges the configurator works out the topology:
- a node with one run is an end and gets an end cap;
- a node where two runs meet at 90° is a corner and gets a corner connector with continuous light;
- a node with three runs is a T-joint, a node with four is a cross, each with its own connector.
In free-draw mode, the buyer taps grid points; lines snap to the grid axes, tapping the same point twice ends a line, and undo and clear are available. A drawn layout cannot exceed 24 m of luminaire in total. A run longer than 3.0 m is split into equal pieces, and each split adds a straight joint connector. Profiles appear in the parts list cut to size, in millimetres.
This is the main reason to build such rules into the configurator rather than leave them to the buyer: the parts list follows from the geometry, so a rectangle can never be ordered with three corners.
Which checks run, and what do they mean?
The demo shows a short list of checks under the article number. A failed check turns red, and for pendants the problem zone is drawn as a red volume in the room:
- Headroom under pendant runs outside the table area: at least 2.10 m (example rule).
- Height above the table for runs over the meeting table: at least 0.60 m (example rule).
- Suspension spacing: the number of suspension points and the largest span, which must not exceed 2.4 m.
- Light on the table: the average illuminance Ē and the uniformity U₀, against example targets of 500 lx and U₀ ≥ 0.60.
- Feed points and glare label: the number of feeds and the example UGR label of the chosen optic.
Every value here is an example. The light check is a simplified estimate, and the demo says so: "Simplified light estimate (demo, fictional brand) – not a lighting design." Requirements for real work places are set out in EN 12464-1 (DIN EN 12464-1:2021-11 in Germany) [1]; meeting them is shown by a lighting design for the specific room. The manufacturer is responsible for its product data and the lighting designer for the design, not the configurator. In a real build, the clearance limits and targets would be your rules, documented with you.
How are drivers, feeds and mounting parts sized?
The wattage is calculated from the total length, the lumen package and an example system efficacy per optic. From the wattage, the demo derives:
- one 50 W driver per started 50 W, listed as a DALI-2 driver (an example part; DALI-2 is a lighting-control standard with a certification programme run by the DiiA [2]);
- one feed point per started 200 W.
Mounting parts depend on the mounting type. Pendants get wire suspensions with canopies at the suspension points and feed canopies with textile cord at the feed points, with the cable length (1.5 or 3.0 m) chosen from the suspension height. Surface mounting gets ceiling clips by run length and a ceiling feed. Recessed mounting gets a plaster-in frame per started metre and a recessed feed.
How is the article number built?
The article number encodes every choice in a fixed order:
LL40 - mounting - optic code + 9 + first two digits of the colour temperature - lumen package ÷ 100 - finish - layout code and size - suspension in mm (pendant only)
Worked through from the demo's rules for its default configuration (rectangle 3.75 × 1.25 m, pendant at 0.80 m, black anodised, opal, 3000 K, 1,500 lm/m), the result is:
LL40-P-OP930-15-BK-R3750x1250-A0800
The summary line next to it reads 10.00 m · 15,000 lm · 109 W · 120° · 3000 K. The parts list carries its own article numbers for each profile length, connector, driver and mounting part, and the buyer can copy the article number or download the list as a CSV file.
Your own article logic will differ. What matters is that the number is generated, not typed, and that the parts list and the 3D model use the same data.
Try the logic in the demo
Example configurator · fictional product: LUMA LINE linear luminaire – draw runs on the ceiling grid, switch optic, colour temperature and mounting, and watch the checks, the article number and the CSV parts list change with each choice.
Three hotspots in the model explain the optic, the connectors and the suspension. Views switch between 3D, eye level and a top view of the ceiling grid. What the demo does not have is an enquiry form or a PDF; its output is the article number and the parts list. How such an output becomes an enquiry to your sales team or wholesaler is the subject of enquiries from lighting and acoustics configurators.
What do we need from you to build your rules?
- the grid or axis system your luminaires are planned on, and the maximum lengths of runs and pieces;
- your connector types and when each one is used;
- driver and feed sizing rules, and suspension or mounting rules per mounting type;
- your article number structure, with an example for each option;
- the clearance and spacing rules your inside sales team checks today.
With that list, the rules can be written as data you can review line by line. How we build configurators with rules like these is described under custom 3D configurator development.
Sources
- DIN Media: DIN EN 12464-1:2021-11, Light and lighting – Lighting of work places – Part 1: Indoor work places, read 14 November 2026: dinmedia.de
- DALI Alliance: DALI-2, read 14 November 2026: dali-alliance.org
- Demo logic: the LUMA LINE demo (rules, checks, parts list and article number as implemented in the demo code, read 14 November 2026) and the "Live in this demo" list on the library page
Examples to try
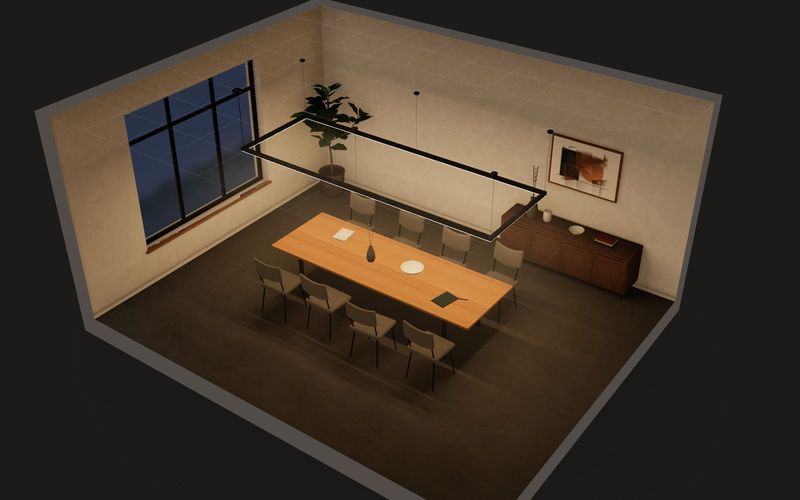
Own demo · fictional product
LUMA LINE linear luminaire
A lighting-system configurator where light itself is the product: draw runs on the ceiling grid, pick optic and colour temperature, and see light cones, lux values, checks and the parts list live.
Read next
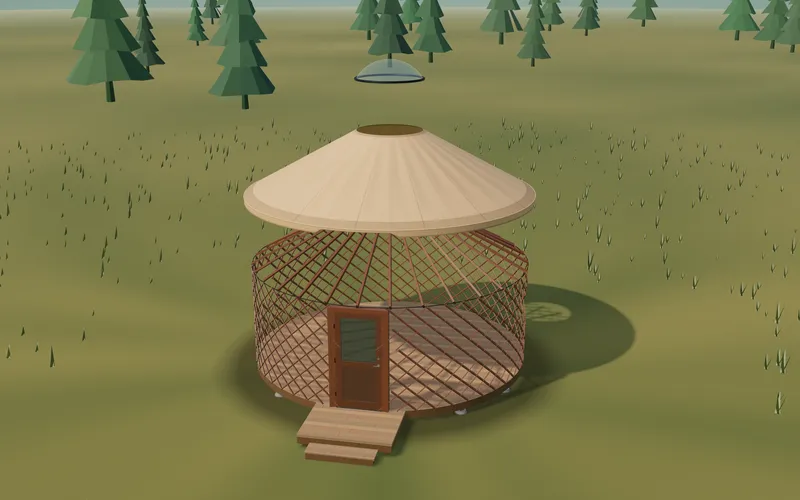
Yurt configurator rules: placing doors and windows on the lattice wall
The rules a yurt configurator needs: wall length per diameter, the space each opening takes, a second door opposite, collision-free dragging, options.
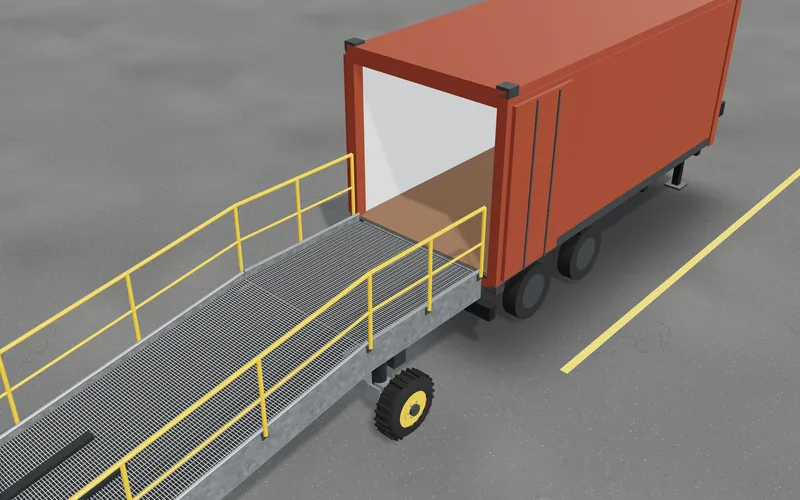
Yard ramp slope, bed height and checks as configurator rules
How a yard ramp configurator calculates slope from length, level-off and bed height, and checks lift range, door opening and forklift clearance.
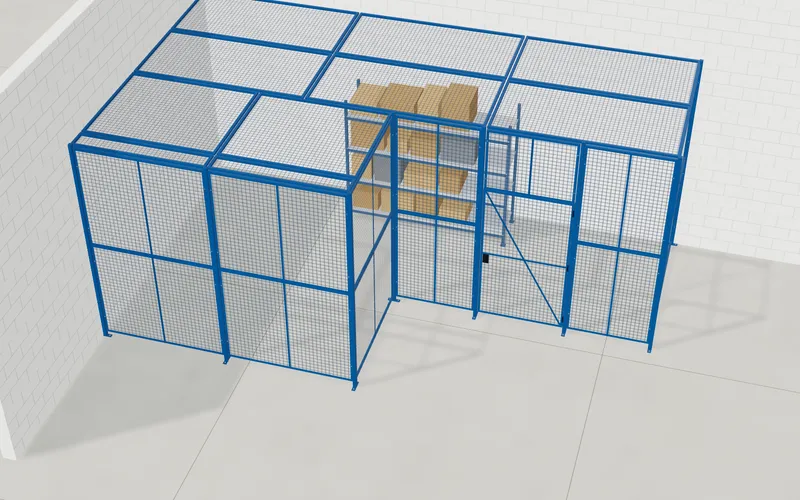
Wire partition planner rules: outline, doors and parts
The rules a wire partition planner needs: outline on a grid, wall lengths, heights, doors and service windows, ceiling and lock, layout checks and parts.