Wheel configurator logic: rim size, tyre, finish and brake calliper
How a wheel configurator links rim size and tyre at a constant outer diameter, separates paint from diamond-cut faces and brings in vehicle fitment data.
Short answer: the central rule of a wheel configurator is the outer diameter stays, the rim grows, the sidewall gets lower. From that follow the tyre size per rim size and the size of the brake behind it. A second group of rules separates design, paint and diamond-cut face, which combine freely. A third, vehicle fitment, comes from the manufacturer's data. Our example configurator implements the first two with example values.

What are the parameters of an alloy wheel in a configurator?
| Parameter | Example values | What depends on it |
|---|---|---|
| Design | 5-spoke, twin-spoke, turbine | Wheel face and spoke windows |
| Finish | Silver, gunmetal, gloss black, matte bronze | Paint, gloss, metallic content |
| Diamond-cut face | On or off | Spoke face only |
| Size | 18, 19, 20 inches | Rim barrel, sidewall, brake disc, wheel face |
| Calliper | Red, yellow, black, blue | Rotation of the wheel towards the calliper |
| Spin | On or off | Animation only |
Why does the outer diameter stay the same?
Someone choosing a larger wheel usually wants a larger rim, not a taller wheel. This is known as plus sizing: the overall diameter of rim and tyre is kept roughly constant, with a lower sidewall [3]. The demo does this with three tyre sizes whose diameter is easy to check (rim diameter in mm plus twice the sidewall height, which is tyre width times aspect ratio):
| Size | Example tyre | Rim | 2 × sidewall | Outer diameter |
|---|---|---|---|---|
| 18 inch | 245/45 R18 | 457.2 mm | 2 × 110.25 mm | ≈ 677.7 mm |
| 19 inch | 245/40 R19 | 482.6 mm | 2 × 98 mm | ≈ 678.6 mm |
| 20 inch | 245/35 R20 | 508.0 mm | 2 × 85.75 mm | ≈ 679.5 mm |
The demo uses about 679 mm for all three and says so on the model: "the wheel stays 679 mm tall". The sidewall carries the matching size marking, and the brake disc behind grows with the rim. Outside the hub, the wheel face is stretched radially, so the bolts and centre bore keep their size.
For your product this is an example, not a rule. Which tyre sizes belong to which wheel and vehicle is in your documents; the configurator should read exactly that list and do no sums of its own.
How do you separate design, paint and diamond cut?
A diamond-cut wheel has two surfaces: the machined face is bright, the pockets and flanks stay painted. In the demo the diamond cut is a switch that affects only the face, and the paint colour covers the rest. Three designs, four finishes and two states of the diamond cut make 24 looks, and with three sizes 72 visible combinations, none of which had to be photographed.
Real ranges rarely offer every combination. Typical rules are:
- diamond cut only on certain designs or finishes;
- certain finishes only in certain sizes;
- special editions with their own finish.
Restrictions like these belong in the configurator as a table that your product team can review.
Why does the wheel turn towards the calliper?
Calliper colour is a small option with a big effect, but the calliper sits behind the spokes. The demo handles it like this: whenever a colour is picked (and the wheel is not spinning), the wheel turns until a spoke window sits in front of the calliper and the view moves in. The calliper itself stays put, as on the car. It is an example of a rule that changes the presentation rather than the product: the configurator automatically shows the buyer the part they just changed.
How does vehicle data enter the logic?
The demo has no vehicle selection. In a project it is often the first step, and it changes everything after it:
- The vehicle determines which sizes, widths and offsets are possible.
- That list filters the designs and sizes in the configurator.
- The selection ends with vehicle, part number and a pointer to the documents you provide.
You are responsible for the data and its accuracy as the manufacturer; the configurator only shows what your list allows. For the 3D data itself, a wheel face from engineering CAD usually prepares well for the web; see CAD to a web 3D configurator.
What data does the configurator need from you?
- Design matrix: which design exists in which sizes and finishes, as a table.
- Tyre assignment: the approved tyre sizes per wheel and size, rather than a formula.
- Finish samples: photos under known lighting or physical samples, so paint, gloss and diamond cut can be matched.
- Fitment list: if vehicles are included, in the format you maintain it in today.
When the range changes, you change the tables; the presentation follows.
What comes out at the end?
The demo ends with the 3D model and has no summary or enquiry. In a project, a line like this would go to a dealer or your sales team:
Design 5-spoke · gunmetal · diamond-cut · 19 inch · tyre 245/40 R19 · calliper red
plus vehicle, part numbers and quantity. Which features a wheel configurator needs overall, and who uses it, is covered in alloy wheel configurator for manufacturers.
Example configurator · fictional product: Alloy wheel. Switch between 18 and 20 inches and watch the sidewall drop while the wheel stays the same height.
Common questions
How much work is another design?
Another wheel face is a model of its own; barrel, tyre, brake and materials are reused. We set the scope in the quote.
Can the configurator show widths and offsets?
Yes, as values from your data and, if you want, in the model. The demo shows rim sizes only.
Sources
- Demo features and example values: the alloy wheel library page and the demo source /assets/mw3d/demos/wheel.js (read 14 November 2026)
- Outer diameters: our own calculation from the demo's tyre sizes (inches × 25.4 mm + 2 × width × aspect ratio)
- Wikipedia: Plus sizing, introduction, read 14 November 2026: en.wikipedia.org
Examples to try
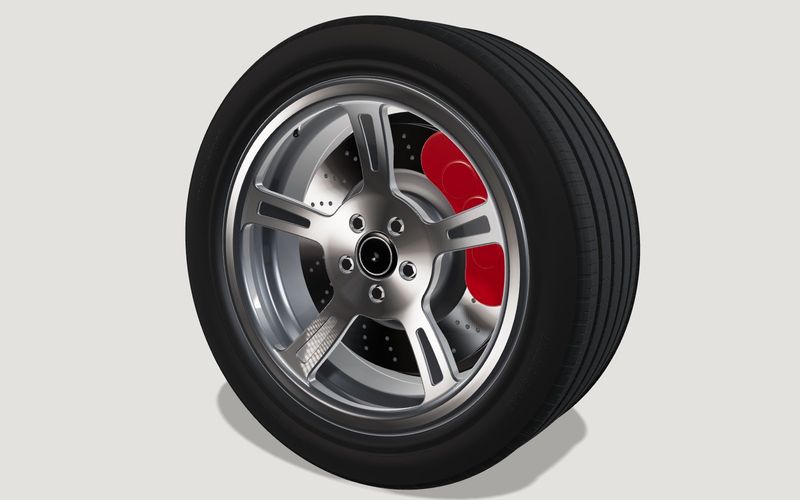
Own demo · fictional product
Alloy wheel
Rim, tyre and brake: switch the design, finish and size, and the tyre adapts.
Read next

Yurt configurator rules: placing doors and windows on the lattice wall
The rules a yurt configurator needs: wall length per diameter, the space each opening takes, a second door opposite, collision-free dragging, options.
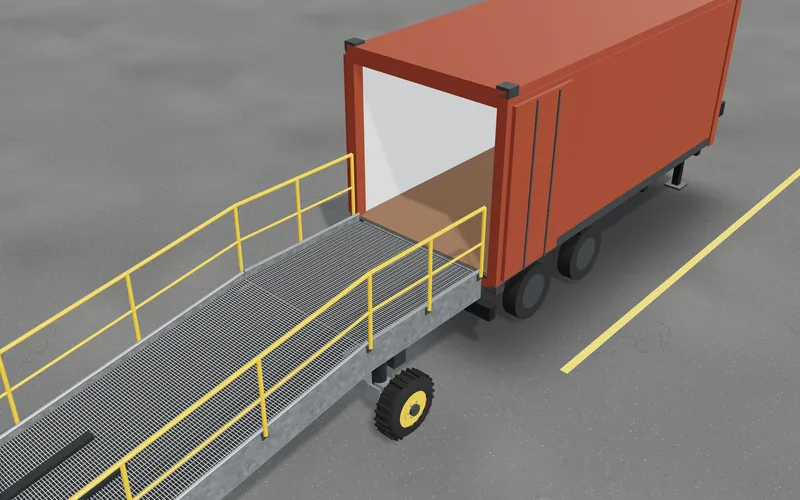
Yard ramp slope, bed height and checks as configurator rules
How a yard ramp configurator calculates slope from length, level-off and bed height, and checks lift range, door opening and forklift clearance.
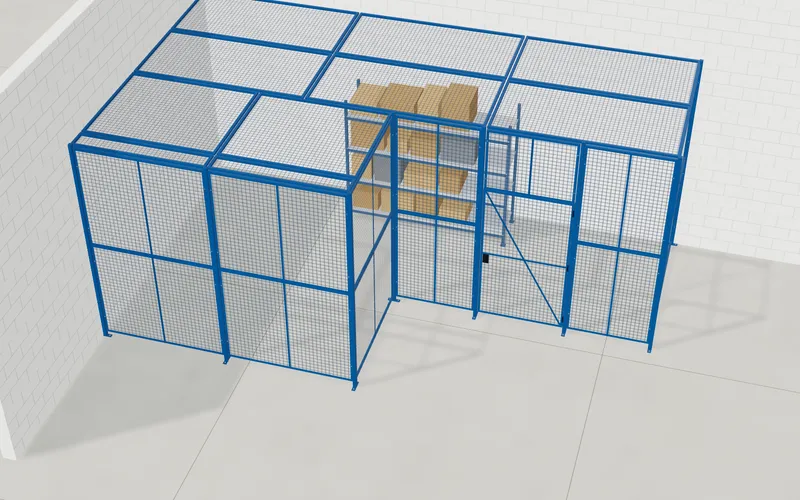
Wire partition planner rules: outline, doors and parts
The rules a wire partition planner needs: outline on a grid, wall lengths, heights, doors and service windows, ceiling and lock, layout checks and parts.